Standard Placement of Center Hung or Trapeze Tray Supports
To place a pre-defined Support Frame, a standard procedure is used for most of the available components.
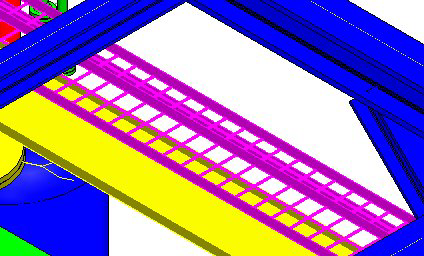
- Select the cable tray component(s) to be supported. If a stack of trays are selected, as shown below, the selected support option will place a support under each tray.
- Select a support option from the tool drawer. The following dialog displays listing the selection set of tray component(s) to be supported.
- Enable the Clear Selection After Placement option. This will clear the selection set after the support has been placed.
- Click Place to display the Properties dialog.
- Define the parameters for the support in the Properties dialog.
- Define additional component properties as necessary.
- Use either the mouse, or the Path Placement Dialog to determine the precise location and rotation for the component.


Note: For component placed using the
Stretch Method
for placement, the Stretch dialog is displayed instead of the Path Placement dialog.
Note: While placing OpenPlant Modeler
supports, you are using referenced piping/structural/equipment models to help determine the location of the support component. Click Here for additional information on attaching the referenced model(s).